Create an Image Work - Part 4 - Walkthrough of GeoConcerns
Jun 7, 2016
Create an image work
- What’s an image work?
- Add a new image
- Add basic metadata
- Add add a location
- Set visibility
- Choose a license
- Create the work
- Inspect the work in Fedora
- Inspect the work in Solr
What’s an image work?
An image work is a resource that represents an image of a geospatial object of some kind. Usually this refers to scanned maps. The image work contains the image file itself, metadata about that resource, derivative files such as thumbnails, and external metadata files which describe the resource.
Add a new image
- Click the + symbol in the upper-right corner.
-
Select New Image Work from the drop-down menu.

Add basic metadata
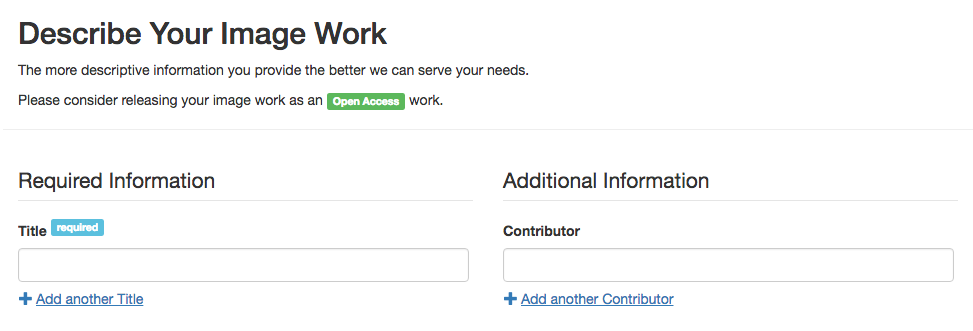
- Fill out fields on the Describe Your Image Work form.
- Required fields are noted with an icon. In this case only Title is required.
-
Fields with the More button are multivalued. Simply click the button and add another value.
Metadata field definitions
Many of the fields on the work description form are basic metadata properties inherited from CurationConcerns. Below is a list of fields and simple descriptions of what they mean in the context of a geospatial object.
| Name | Definition |
|---|---|
| Creator | Author(s). Example: George Washington, Thomas Jefferson. |
| Contributor | An entity (person, organization) responsible for making contributions to the resource. |
| Description | Description of the work. |
| Subject | Subjects, preferrably in a controlled vocabulary. Examples: Census, Human settlements. |
| Publisher | Publisher. Example: ML InfoMap. |
| Source | A related resource from which the described resource is derived. |
| Language | Language for the work. Example: English. |
| Spatial | Spatial coverage and place names, perferrably in a controlled vocabulary. Example: “Paris, France”. |
| Temporal | Temporal coverage, typically years or dates. Example: 1989, circa 2010, 2007-2009. |
| Issued | Issued date for the work. |
Add a location
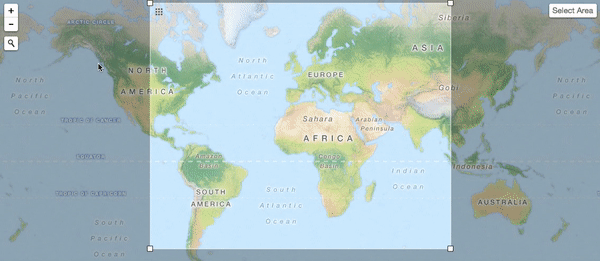
All GeoConcerns works have a location property that can be set using a Leaflet-based map widget. The location property is a bounding box represented as coordinates in a WGS84 projection.
- You can search for specific locations on the map by using the search widget on the left side.
- Click the search icon (magnifying glass).
- Type a place name and press enter.
-
Select a location from the dropdown menu.

- Once you have identified a location, you can re-center the bounding box by clicking the Select Area button on the upper right.
- The bounding box appears on the map widget as a rectangle with a light interior.
-
The extent of the bounding box can be changed by clicking and dragging the white squares at the corners of the rectangle.

-
Clicking and dragging the grid icon on the upper left hand corner of the bounding box will move the rectangle without moving the underlying map.

- You can zoom in and out on the map by clicking on the plus + and minus - icons in the upper left corner.
-
You can move the geographic extents can by clicking and dragging anywhere on the map canvas besides the bounding box corners.
Set visibility
The visibility settings control who can view your work and it’s files.

- The Open Access, Your Institution, and Private options are the most common settings you will use. For this tutorial, select one of these three.
- An Embargo allows you to restrict content until a specific date.
- A Lease does the inverse, allowing you to open up access for a specific time period.
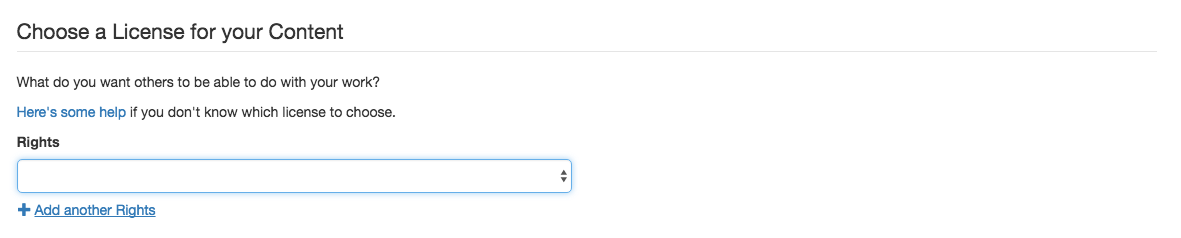
Choose a license
In this last step you can choose a license for your data. You can choose multiple licenses, or none at all. These options are configurable.
Create the work
-
Click Create image work button.

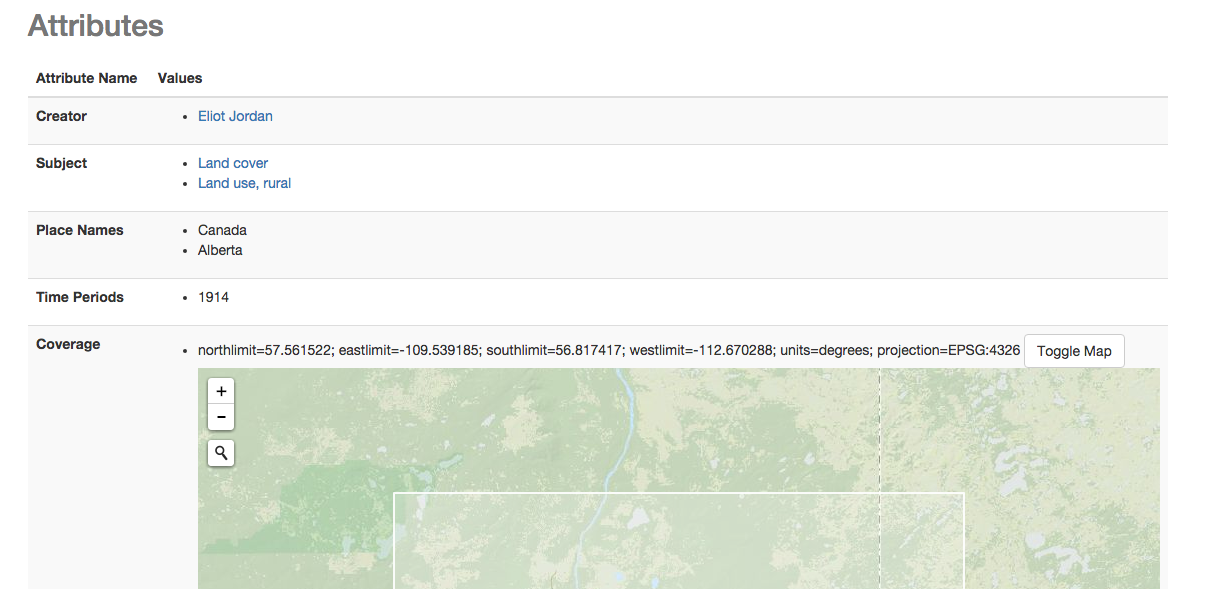
- You’ll be directed to the Image Work show page.
-
On the show page, you’ll see a list of list of the attributes that you entered in the previous steps.
Inspect the work in Fedora
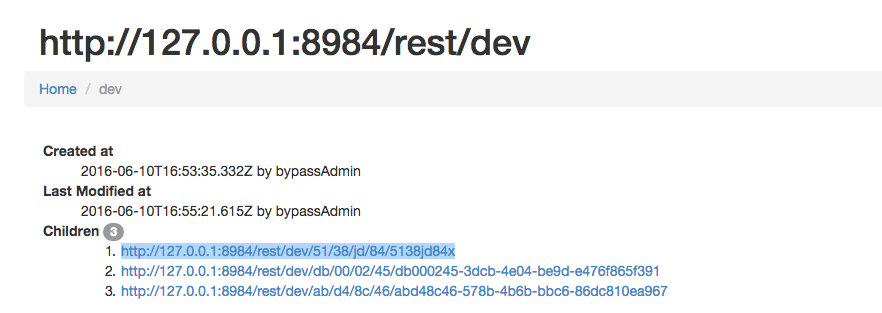
- Open the Fedora Repository dev containter web interface in a new browser tab or window.
- You’ll see a resource with at least three children. The child with the shortest URL will (probably) be your Image Work reource.
-
Click on that link (you might have to copy and paste it into another tab).
-
You’ll see the metadata for the Image Work you created earlier as a Fedora resource.

Inspect the work in Solr
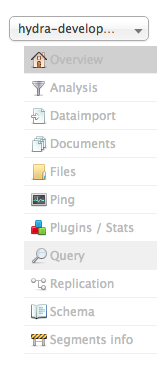
- Open the Solr web interface in a new browser tab or window.
-
Click the Query button on the lower left.
-
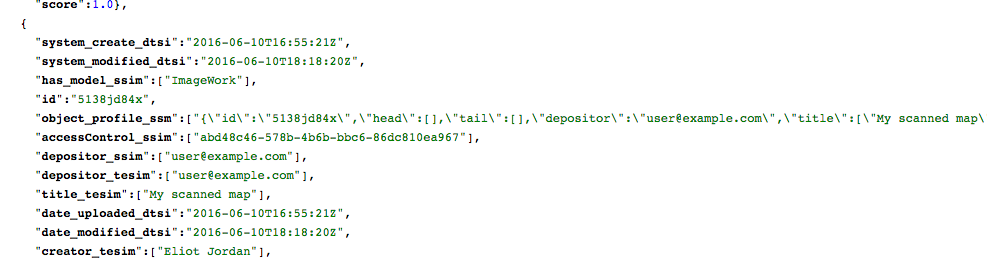
Then click Execute Query to search all documents.
- This returns a JSON formatted list of documents. If you scroll around, you’ll find metadata from your Image Work and see that it was fully indexed into Solr.
- Introduction
- Part 1 - Setting up your environment
- Part 2 - Create your application
- Part 3 - Starting the application
- Part 4 - Create an image work
- Part 5 - Add files to the image work
- Part 6 - Create a raster work
- Part 7 - Create a collection
- Part 8 - Create a vector work
- Part 9 - Viewing derivatives
