Starting the Application - Part 3 - Walkthrough of GeoConcerns
Jun 7, 2016
This is part of a larger tutorial created and presented as "Walkthrough of GeoConcerns".
Starting the application
- Vagrant instructions (skip if the VM was started in part 3)
- Start Solr, Fedora, and Rails
- Create a new user
If you have just completed parts 1 and 2, you can skip to Create a New User.
Vagrant instructions
-
If another vagrant box is running, it needs to be stopped first.
$ vagrant halt -
Navigate to the geo-concerns vagrant directory and start the machine.
$ cd ../geo-concerns-demo $ vagrant up -
Navigate to the geo-concerns vagrant directory and start the machine.
$ cd ../geo-concerns-demo $ vagrant up -
SSH into the VM
Mac and Linux
$ vagrant sshWindows
Use PuTTY
Start the demo application
After logging into the server and navigating to the geo concerns demo directory, you will need to start the application.
$ sudo -i
$ cd /home/vagrant/demos/geo-concerns-demo
$ rails s -b 0.0.0.0
You can now navigate to the web pages for each of the services we just started. It might be useful to open a new browser tab for each service.
Create a new user
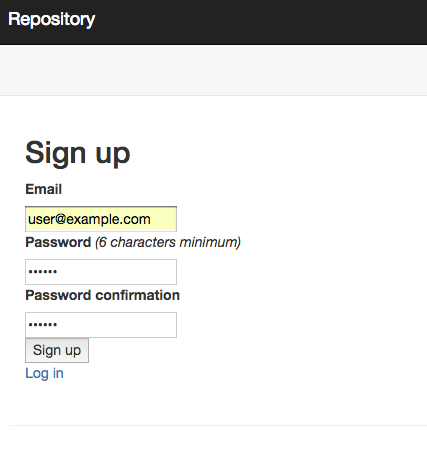
Since this is a brand new application, we have to create a user in order to continue.
- Open the demo app link in a browser tab.
- Click on Log in in the upper right-hand corner.
- Click on the Sign up link direcly below the Log in button.
-
Add an email address (can be fake) and a password.
123456works fine.
- Click on the Sign up button and you’re in!
- Introduction
- Part 1 - Setting up your environment
- Part 2 - Create your application
- Part 3 - Starting the application
- Part 4 - Create an image work
- Part 5 - Add files to the image work
- Part 6 - Create a raster work
- Part 7 - Create a collection
- Part 8 - Create a vector work
- Part 9 - Viewing derivatives

